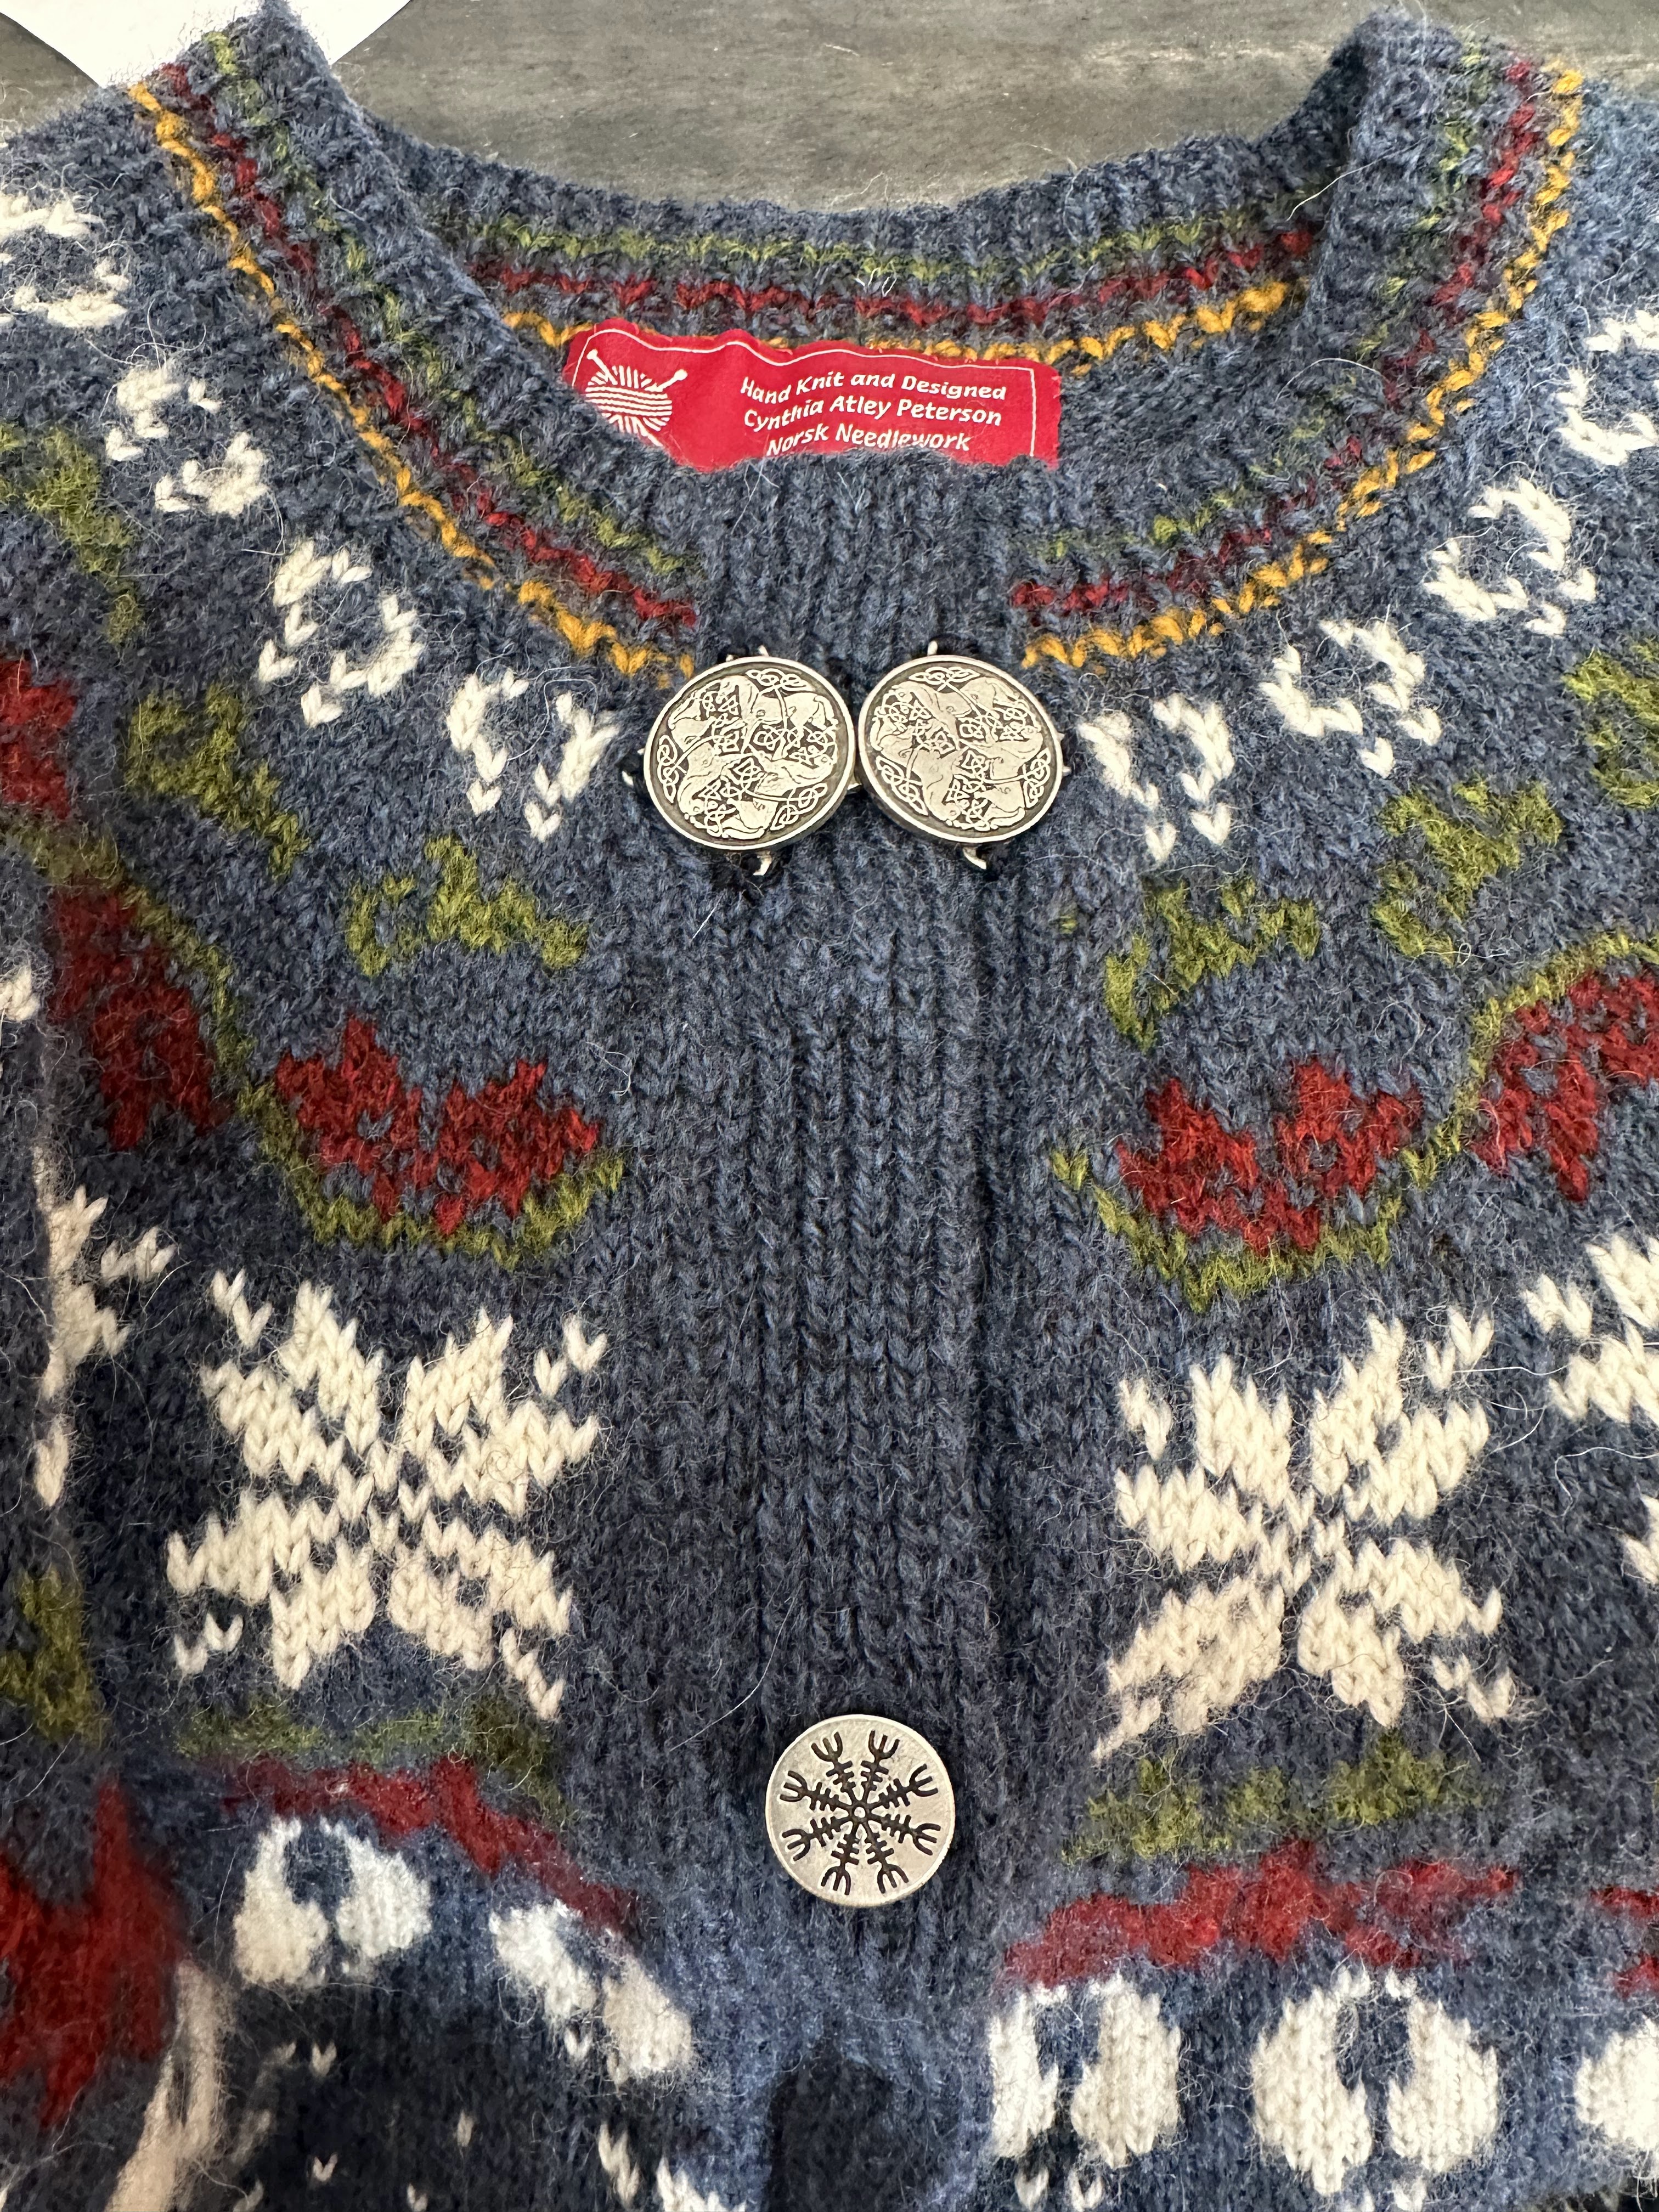
. The buttonhole is described as best as I can in the chart. It was a challenge to make a larger button hole in ribbing with 2 colors! The bands are made the same as the ribbing, advancing the purl color one to the right each row. Make the covered steeks in an envelope or do what you want!
The repeat is too large to make an even # on back and front. Follow from your size line on body chart 8. Place a marker at sides. There will be a mirror image here as above (Med size shown) Of course you can put a seam K or P as you want in the center. There should be a white stitch in the center above the ship bow and stern that I left
out on the first version pattern. Easy to fix.
Work the body as written placing the ship border so it centers mid back. Look at the chart and do the number specified before the repeat, work the repeat specified times and finish row with number as written on that chart page. "Body chart 8 at bottom"
 |
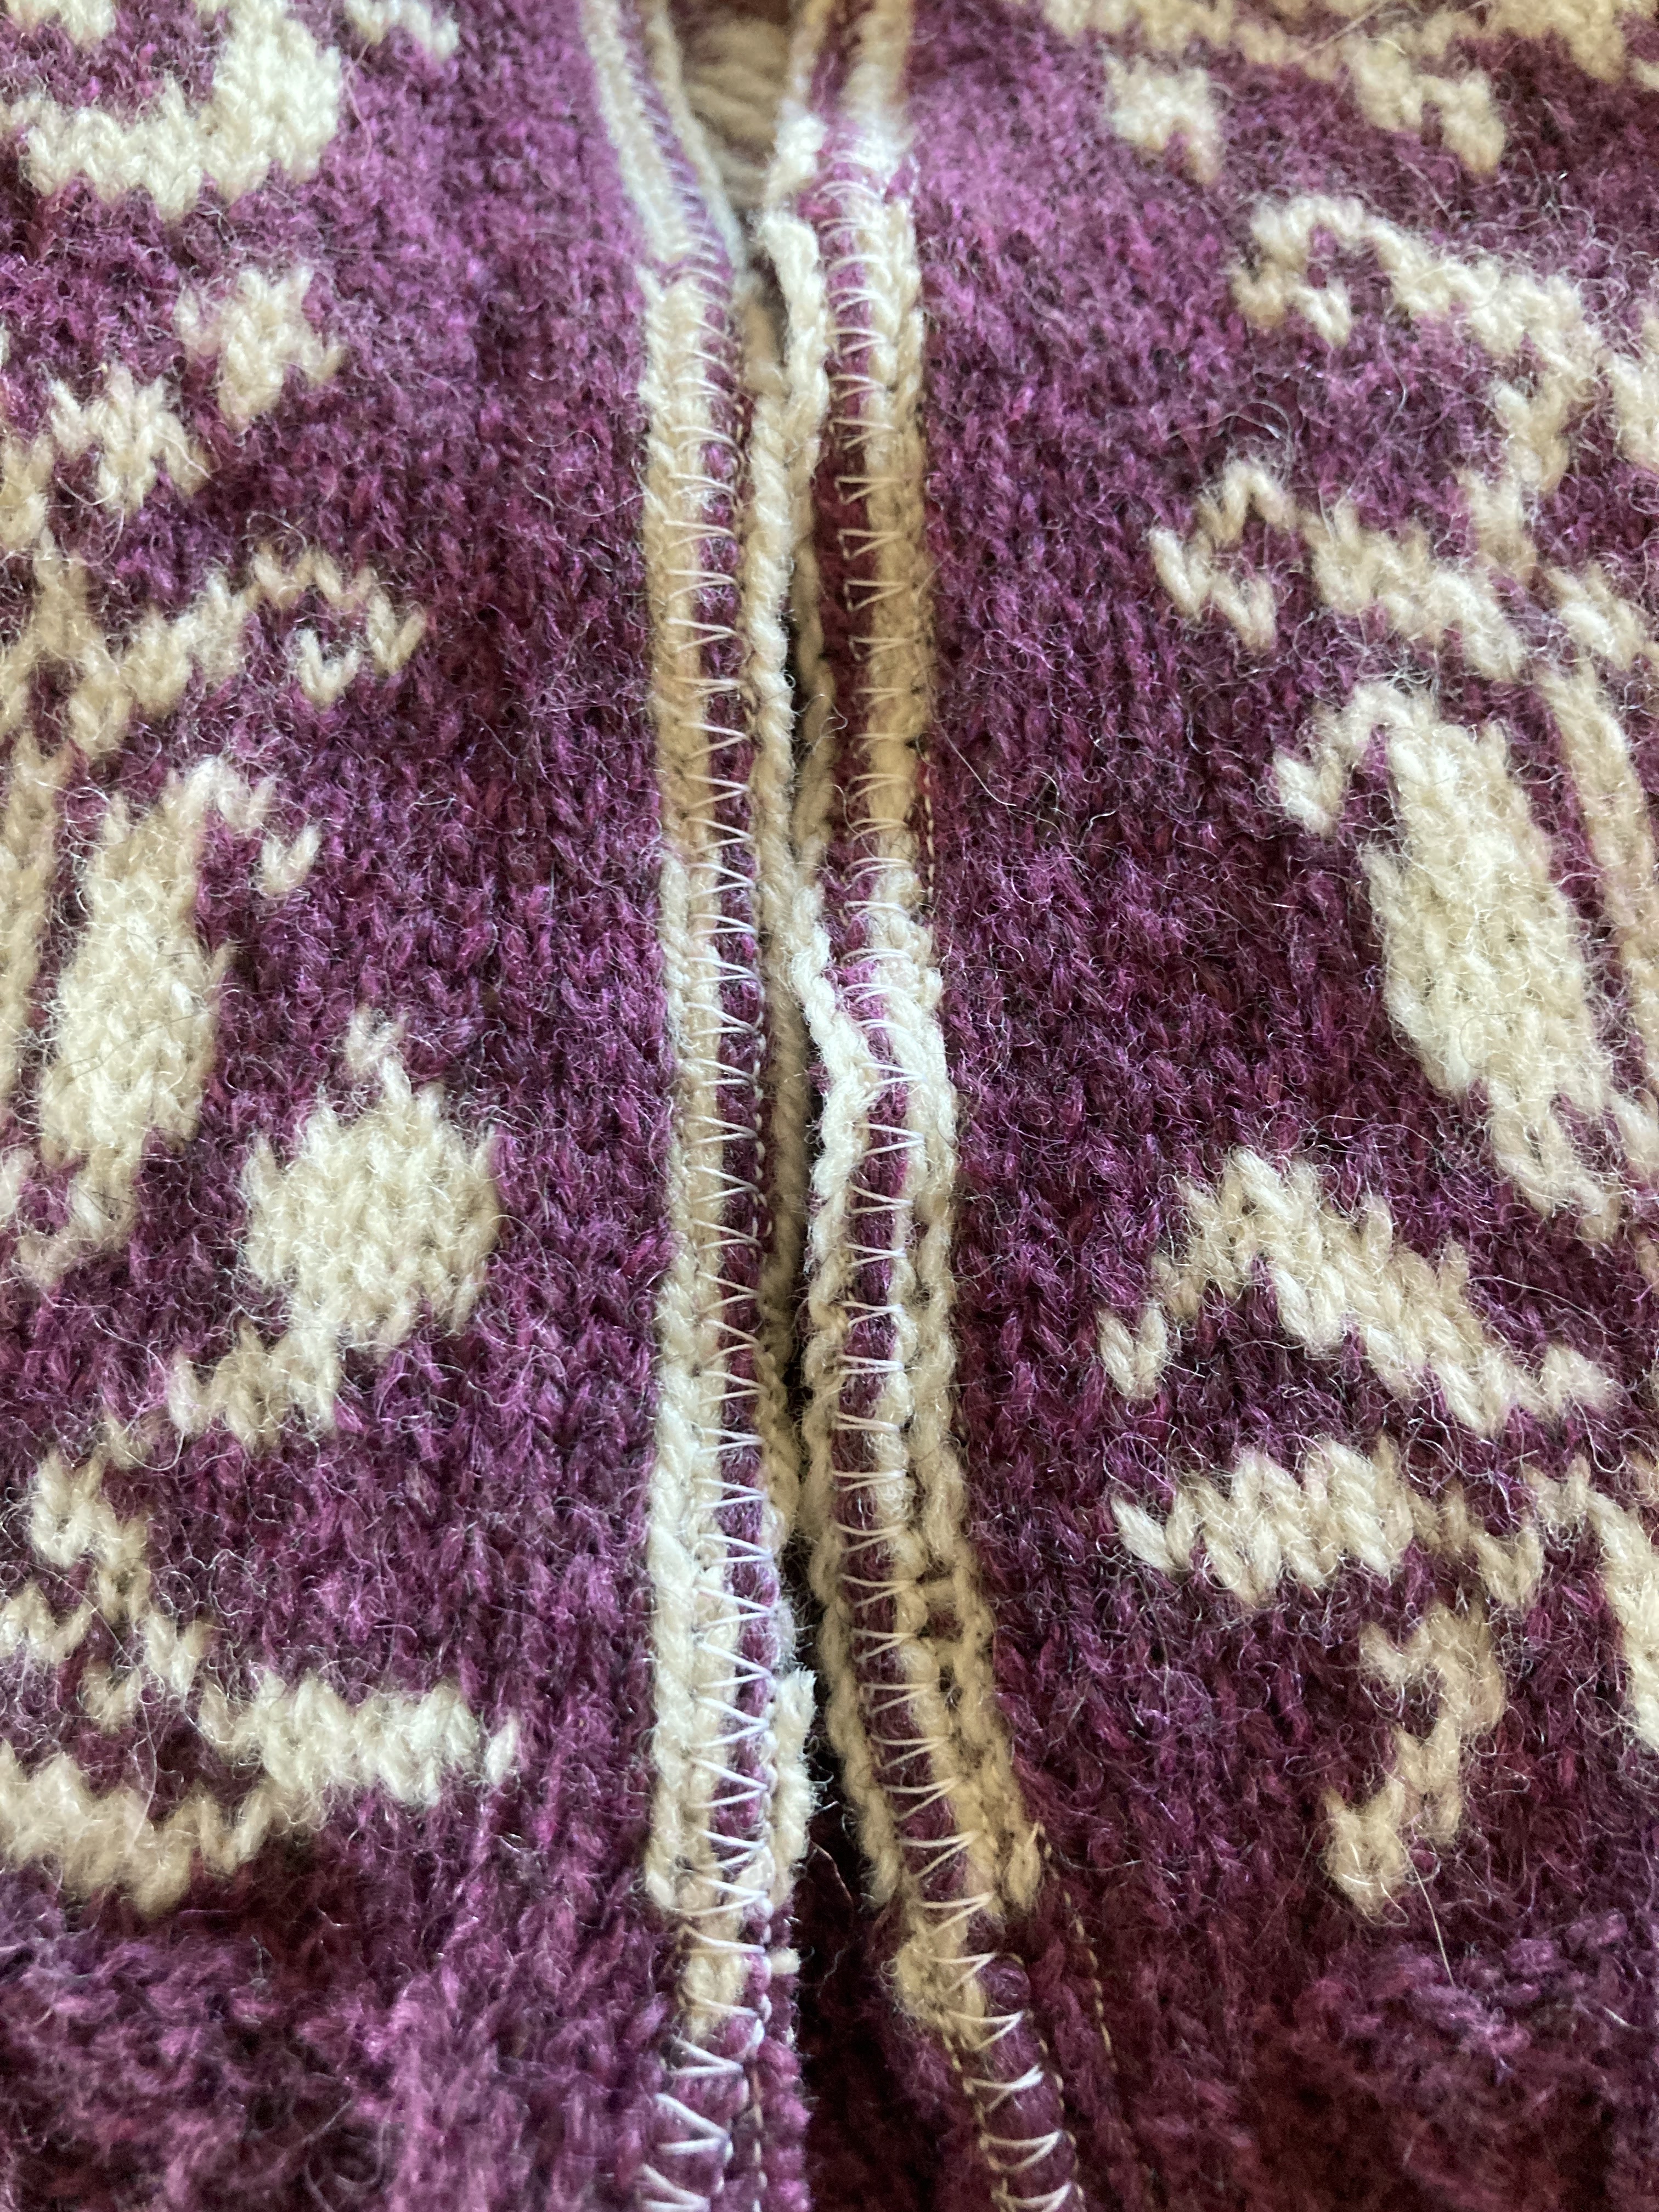
Work up to front neck shaping as shown on Body Chart page 2. Stitches are held as shown on chart. Steek is made at center front and back necks and no need to work back and forth. Continue working around from center front. NO ARM STEEKS. Everyone misses this, read chart! Sides are marked and sewn aroundcenter side stitch! Then cut vertically about 1/4" less than width of top sleeve. The reason for this is you must knit the sleeve bottom up! The pattern would be skewed with upside down V's if you knit from top. You don't know exactly how wide the sleeve will be until it is finished. |
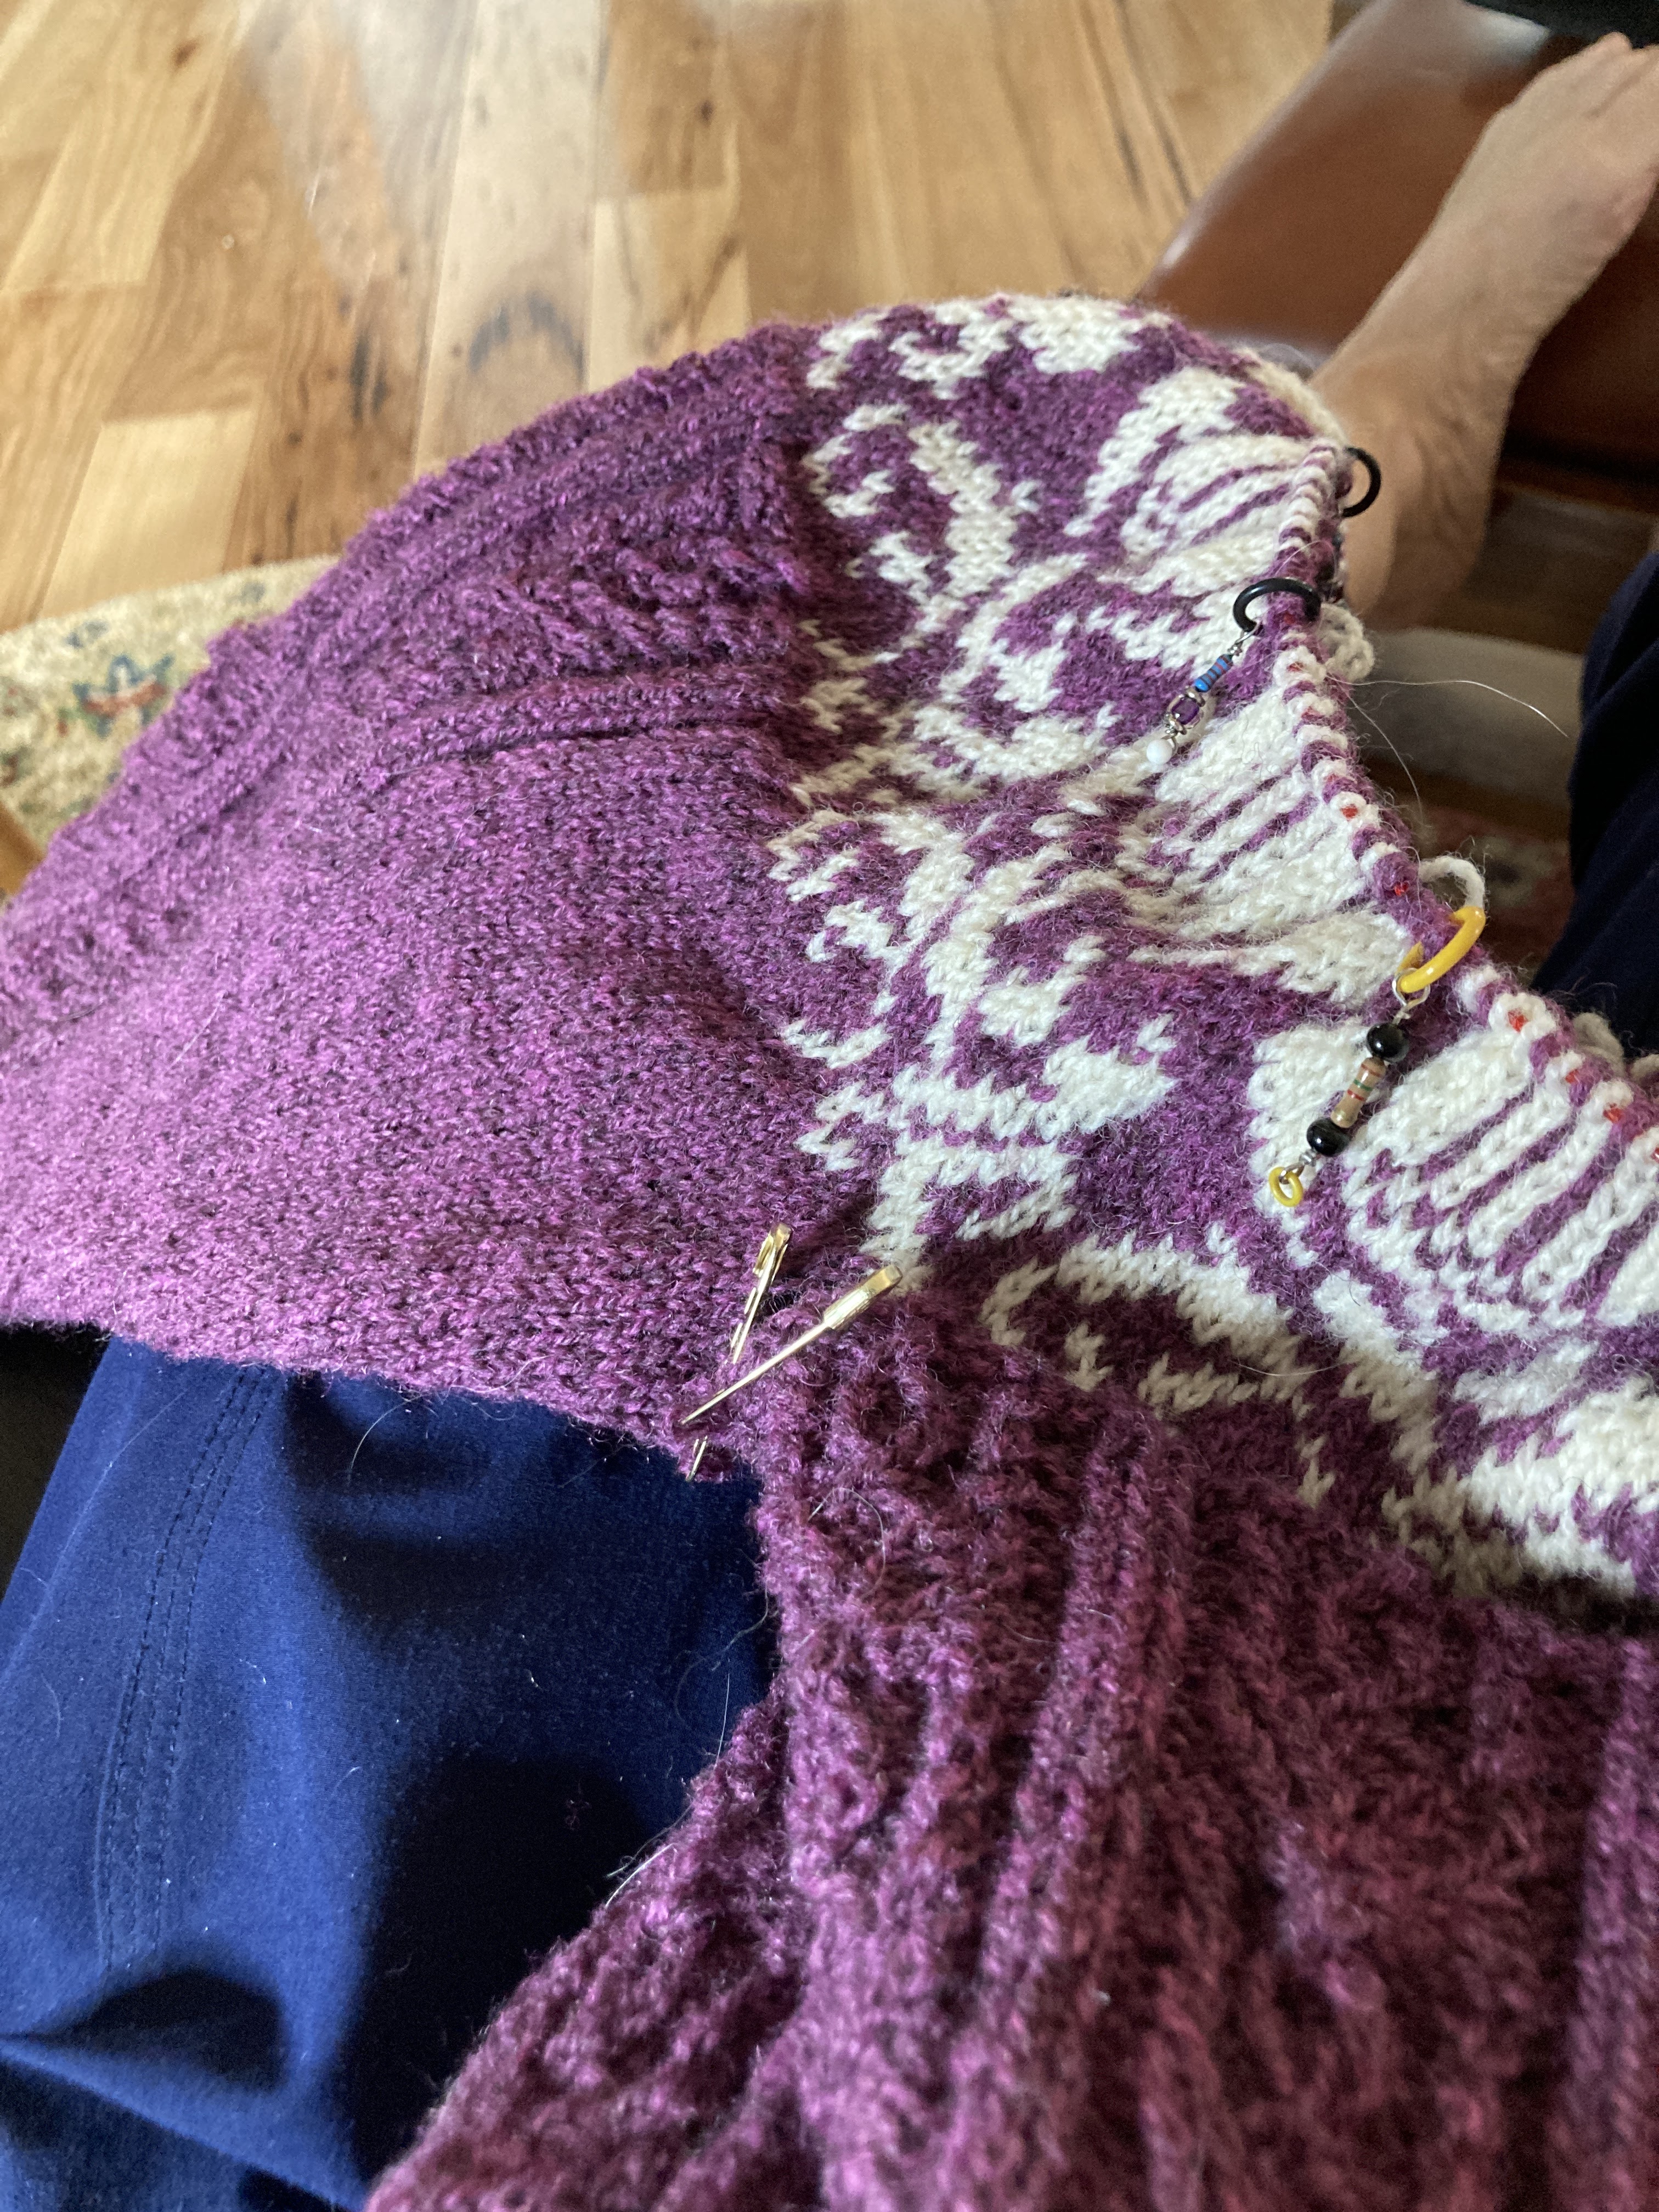
 After shoulders are reached it is best to hold sts on a smooth thread like purl cotton. I have ruined needles sewing through for steek sewing.
 You can see the white sts on this star to the left. They are supposed to be in line with the inside white border! I just changed the chart to correct the placement where I messed up.

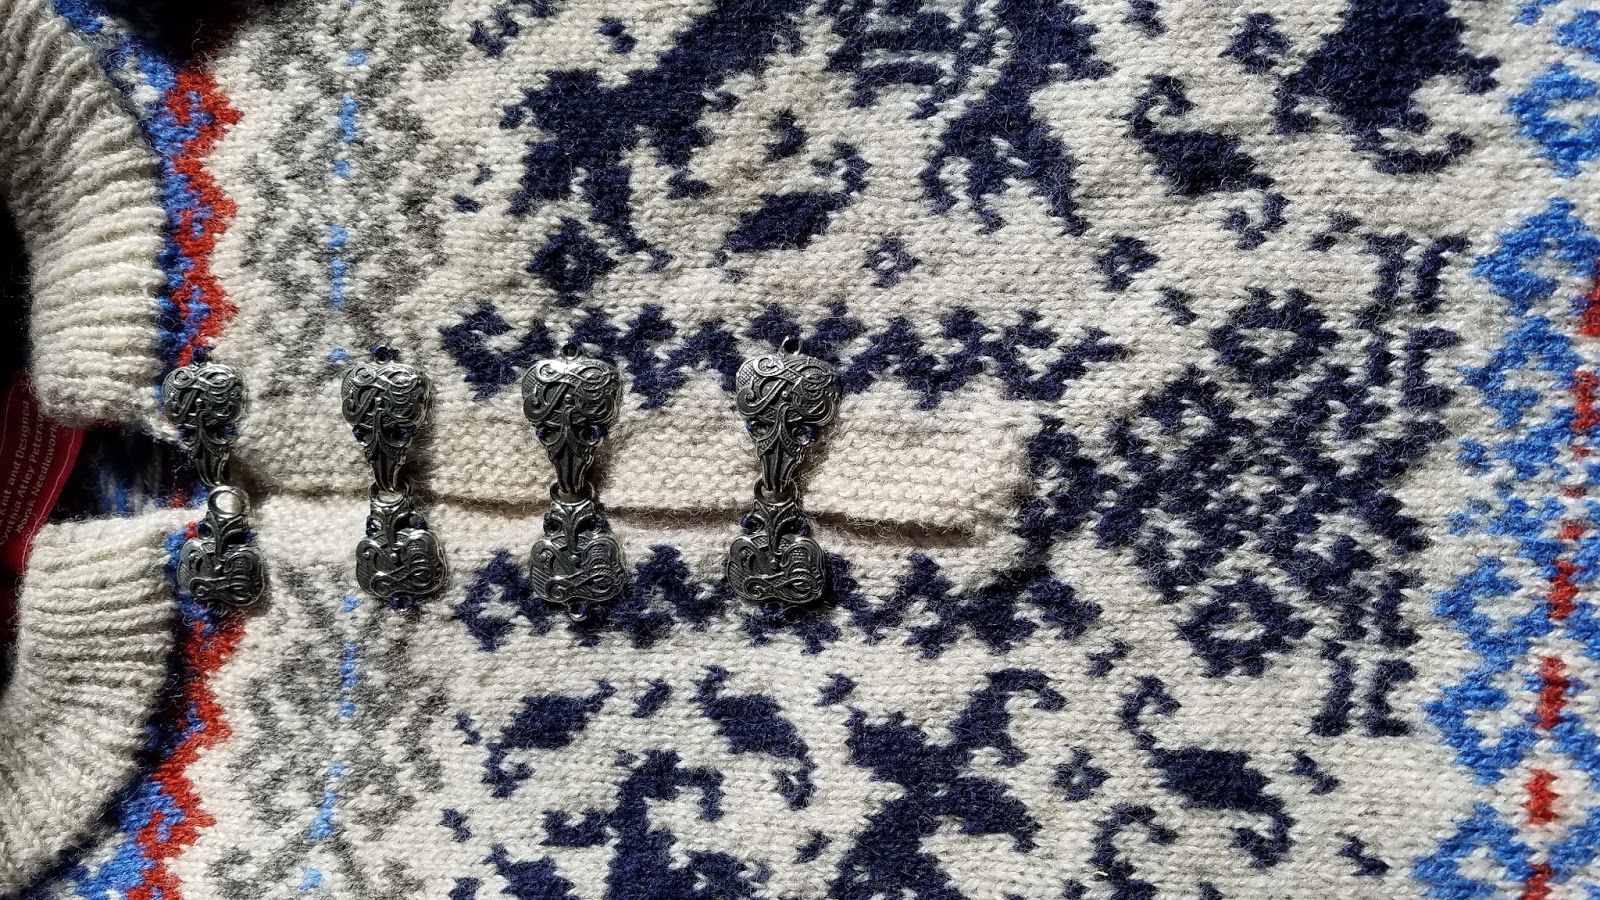
The garter st before the facing makes a great way to sew on the sleeve. I mark the center top and sides first, then safety pin the sleeve loosely in place. When you sew use the background color. Work along a straight stich on body and mimic the garter bump as you go. Hopefully the photos will help.
Hopefully you will enjoy this sweater as much as I did! So fun to watch the animals take shape.
We will probably start a KAL on Ravelry in Celtic Art Lovers in April. So another opportunity to put together a sweater the way the Norwegians do Except the neck is my invention and means knitting around to the top! The old Norwegians used to draw a circle and cut!